Tips for painting a picture
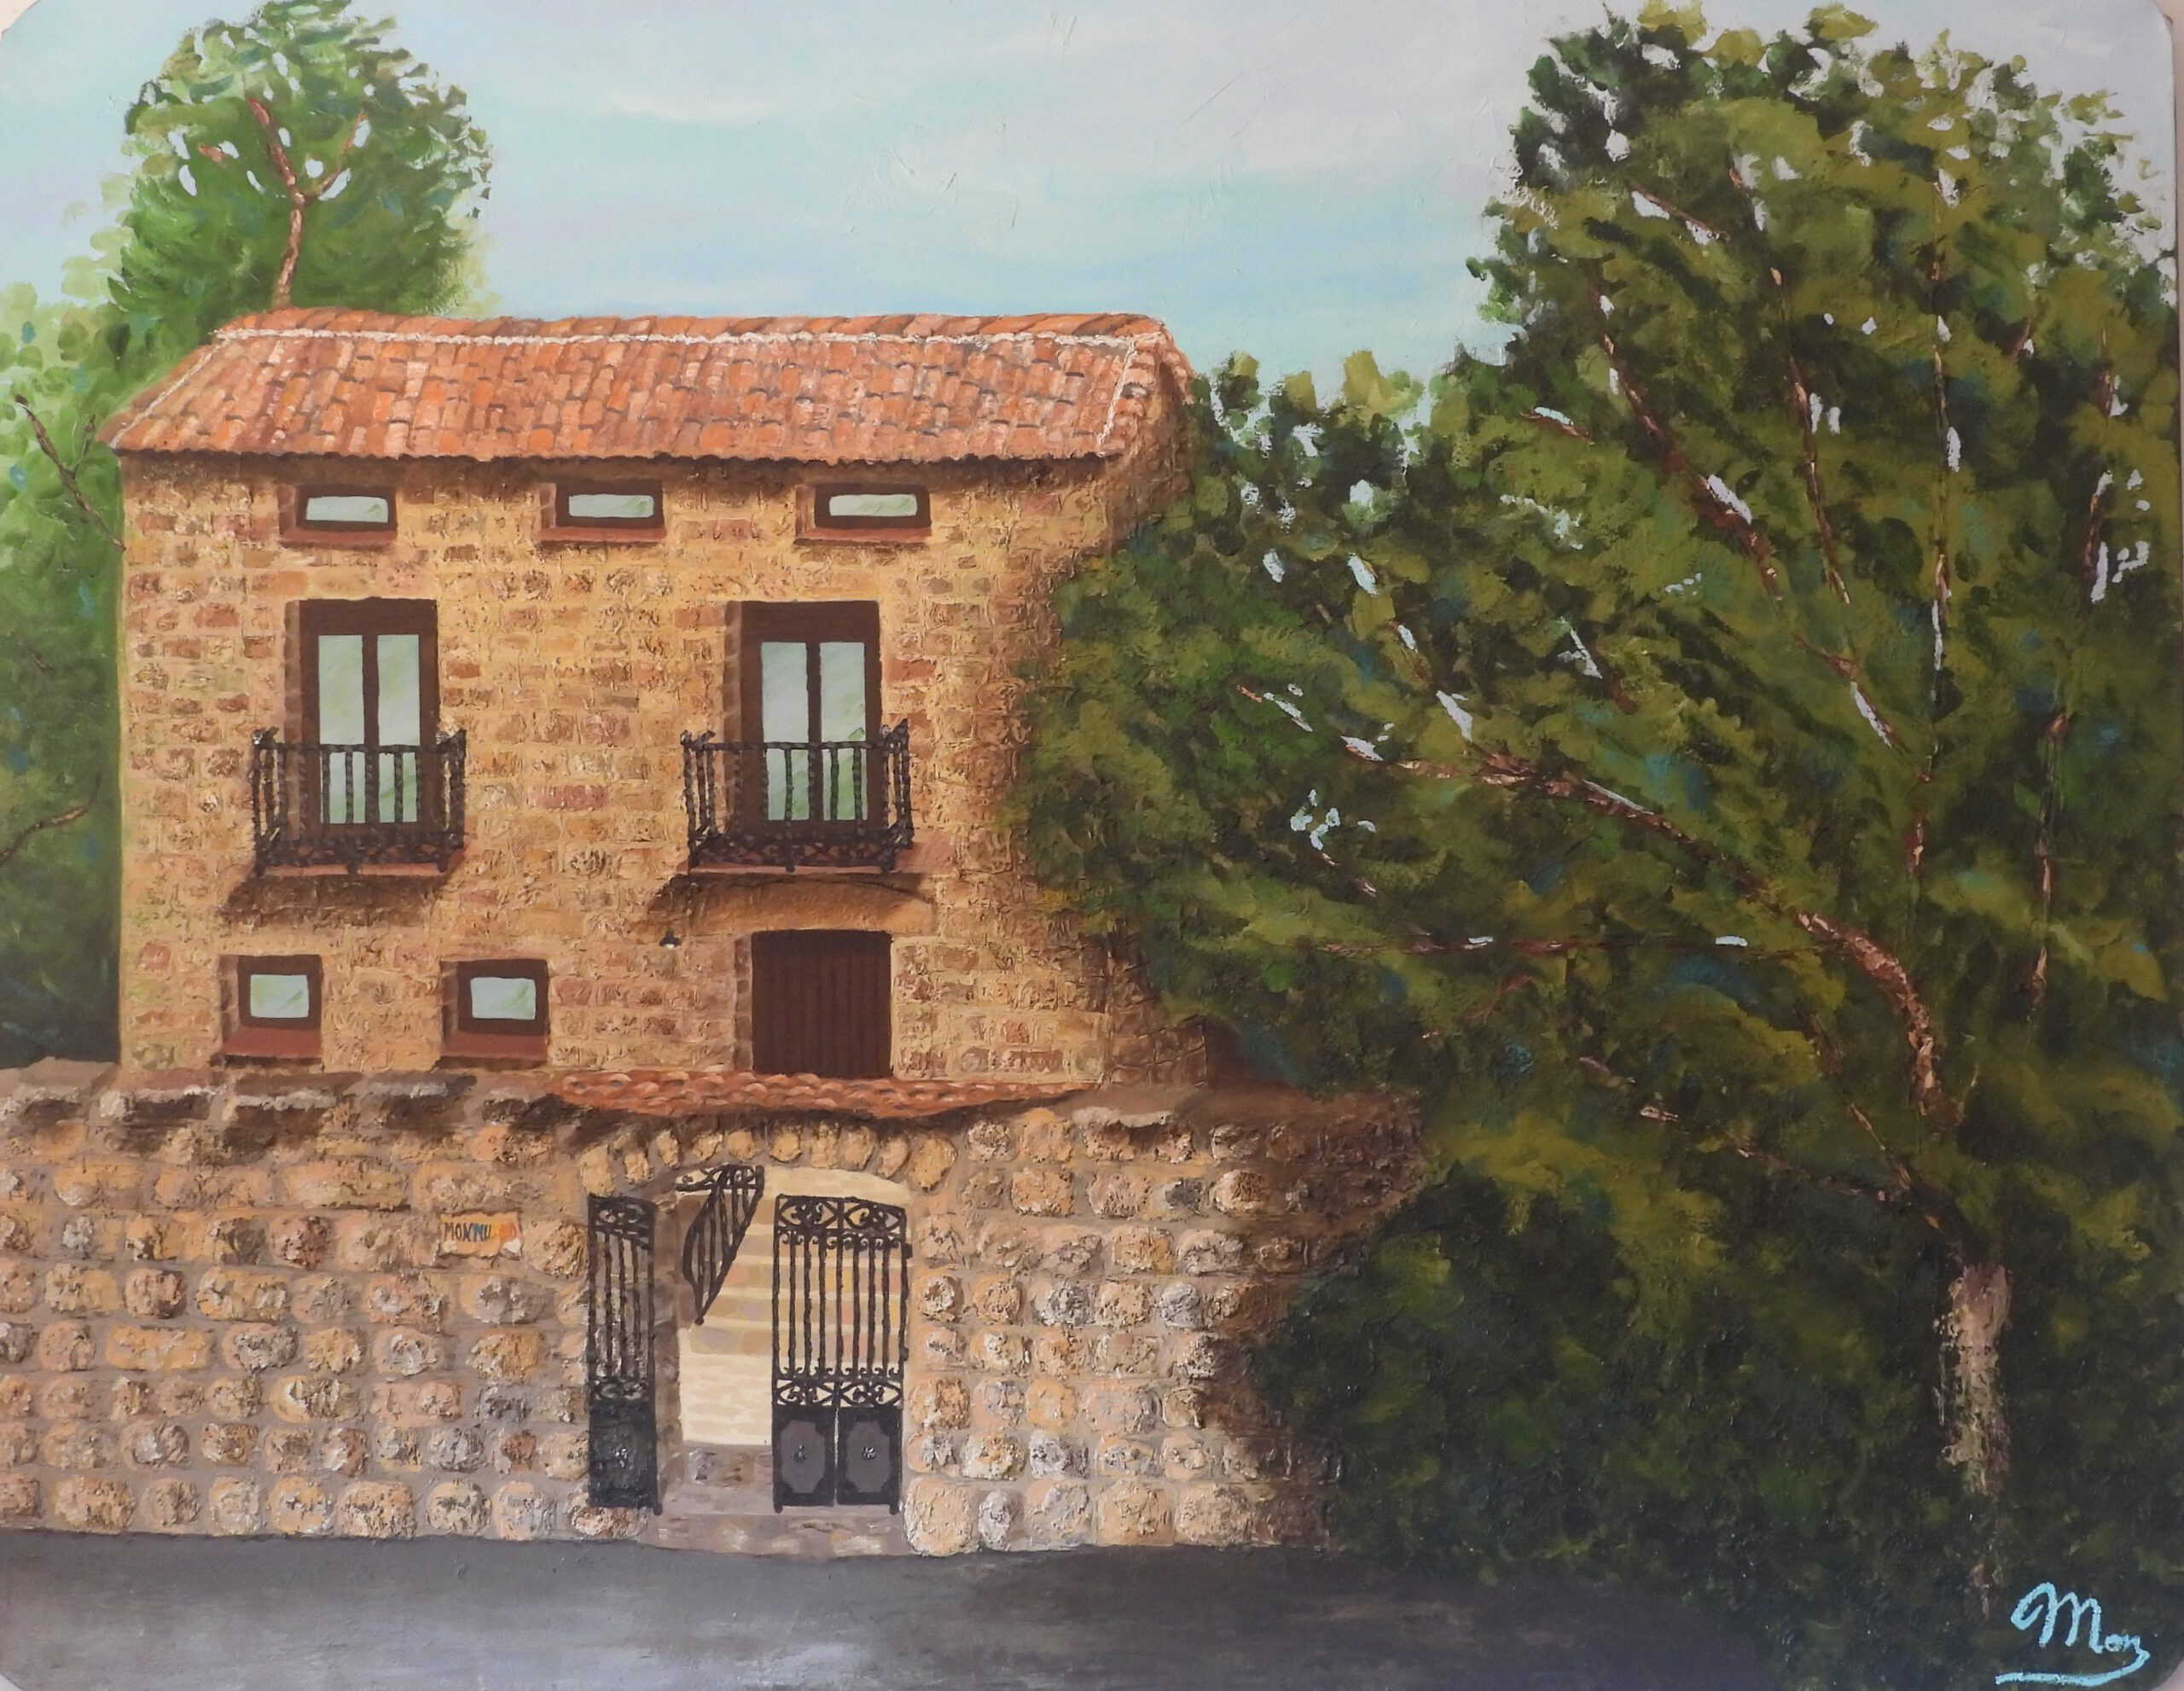
based on the painting ‘Monmundo Cueva’
(Classes at Taller de Arte Matiz from mid-June to late July 2016)
1. Make sure that the stretcher frame is the desired shape and size. This particular frame is made of wood and covered with canvas. It measures 140 cm wide by 110 cm high, with rounded corners.
2. Arrange the elements within the painting as follows:
- Decide exactly what you want to include in the painting and where;
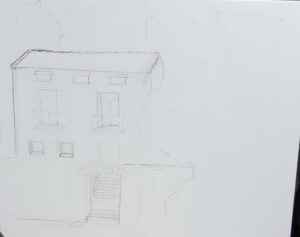
- Sketch it on a sheet of paper as accurately as possible in terms of proportions, then fold the paper into eighths;
- Using a piece of charcoal (which can be removed with a simple cloth), mark a line; attach it – using a large clip – to the centre of the canvas at the top and bottom and pull it so that it leaves a vertical line on the canvas; do the same for the quarters and repeat horizontally (first, middle and third quarters).
- Use charcoal to trace the elements on the sheet onto the canvas, maintaining the proportions based on the squares we have marked out, particularly for features requiring precise proportions (in this case, the windows, balconies and door, above all)
-
3. Assess whether the painting requires texture. Add it wherever deemed necessary. To make the textural elements, put a little white glue in a container and add the textural materials (in this case, marble dust and pumice powder). Using a brush, apply the textural elements (in this case, to create the stones) and use a palette knife to define their outlines.
4. Next, proceed to staining. Stain the entire painting so that no white areas remain, and apply a darker shade than the final desired colour so that you can then lighten it and add highlights. Apply the stain with a broad brush, dipping it in turpentine to make the paint flow more freely.
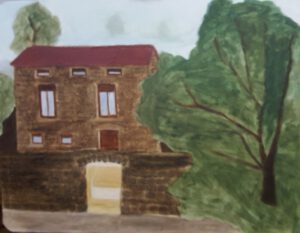
5. Start painting:
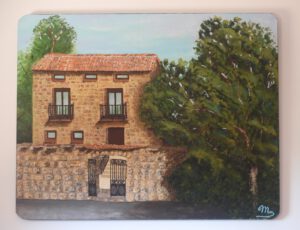
- First, the stones on the front of the house; for this, I used several different shades of ochre, grey, terracotta, etc. Ideally, you should achieve this by mixing magenta, blue and yellow and adding white. I outlined the spaces between the stones with a warm ochre.
- Next, I painted the stones on the outer wall. These were darker than those on the house, and the gaps between the stones were in greyer shades.
- Then, using whites, I began to highlight the stones on both the façade and the wall.
-
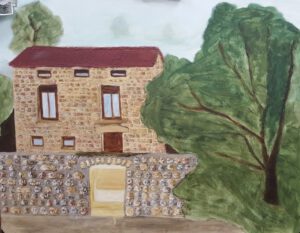
- Next, I painted the tree with a thick brush.
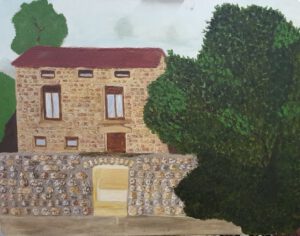
- I applied different shades of green to the trees in a more impressionistic style using broad brushstrokes, and used a palette knife to paint over the branches with various shades.
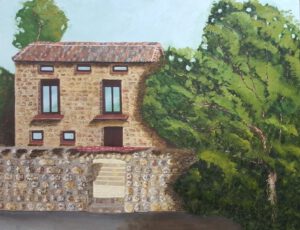
- I added the grilles on the balconies, door and railing, as well as the sign for Monmundo. I also painted the shades of the sky, using one of these shades to add my signature. I took the opportunity to open up more gaps in the trees to reveal the sky.
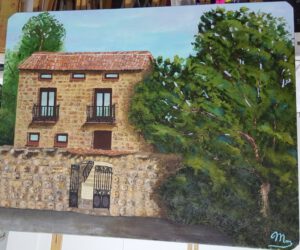
6. Varnishing. Using the varnish I’d bought, I applied it with a broad brush purchased specifically for this purpose, which I’ll keep for such tasks. The first coat was applied from right to left across the canvas, starting at the top and working down to the bottom. I left it to dry. The second coat was applied from top to bottom, starting on the right and working across to the left of the painting. I took care to avoid drips.
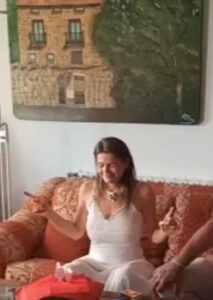
7. The result with the painting now hanging on the walls of my living room: in the first photo, taken on the day we were celebrating my 50th birthday, and in the second, just the painting on its own. Especially now that I’ve fallen ill and can no longer paint in oils with thick impasto, this is a painting I’ll try to preserve.
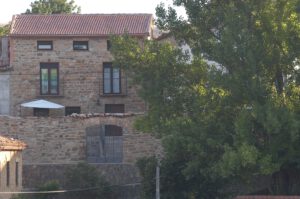
8. Photo of my house in Cueva del Hierro, taken by my friend Ricardo in the summer of 2014 from the other side of the Arroyo Nogueruela ravine, which served as my model when I painted the picture.